
Most shops try to enter everything on day one, get halfway through the product list, and then run the shop on paper for another month. Do it in this order instead and you will be selling through the system by the end of day two.
Day 1 — the skeleton
Set up the things everything else hangs off. All of these live under Resources.
- Branches. Even if you have one shop, create it. Stock, safes, counts and delivery pricing all attach to a branch, and adding one later means moving everything.
- Payment methods. Cash, Instapay, Vodafone Cash, bank transfer — whichever you actually take. Each one becomes a filter in the cash registry, so a method you skip is a gap in your reporting later.
- Order statuses. The defaults cover most shops. If you have a step that is genuinely yours — “awaiting workshop”, “waiting on fabric” — add it now, because changing a status after you have orders in it means re-routing them.
- Your own account and one staff account. Log in as the staff account once and look around. What they can see is not what you can see, and it is much better to find that out now.
Day 2 — what you sell
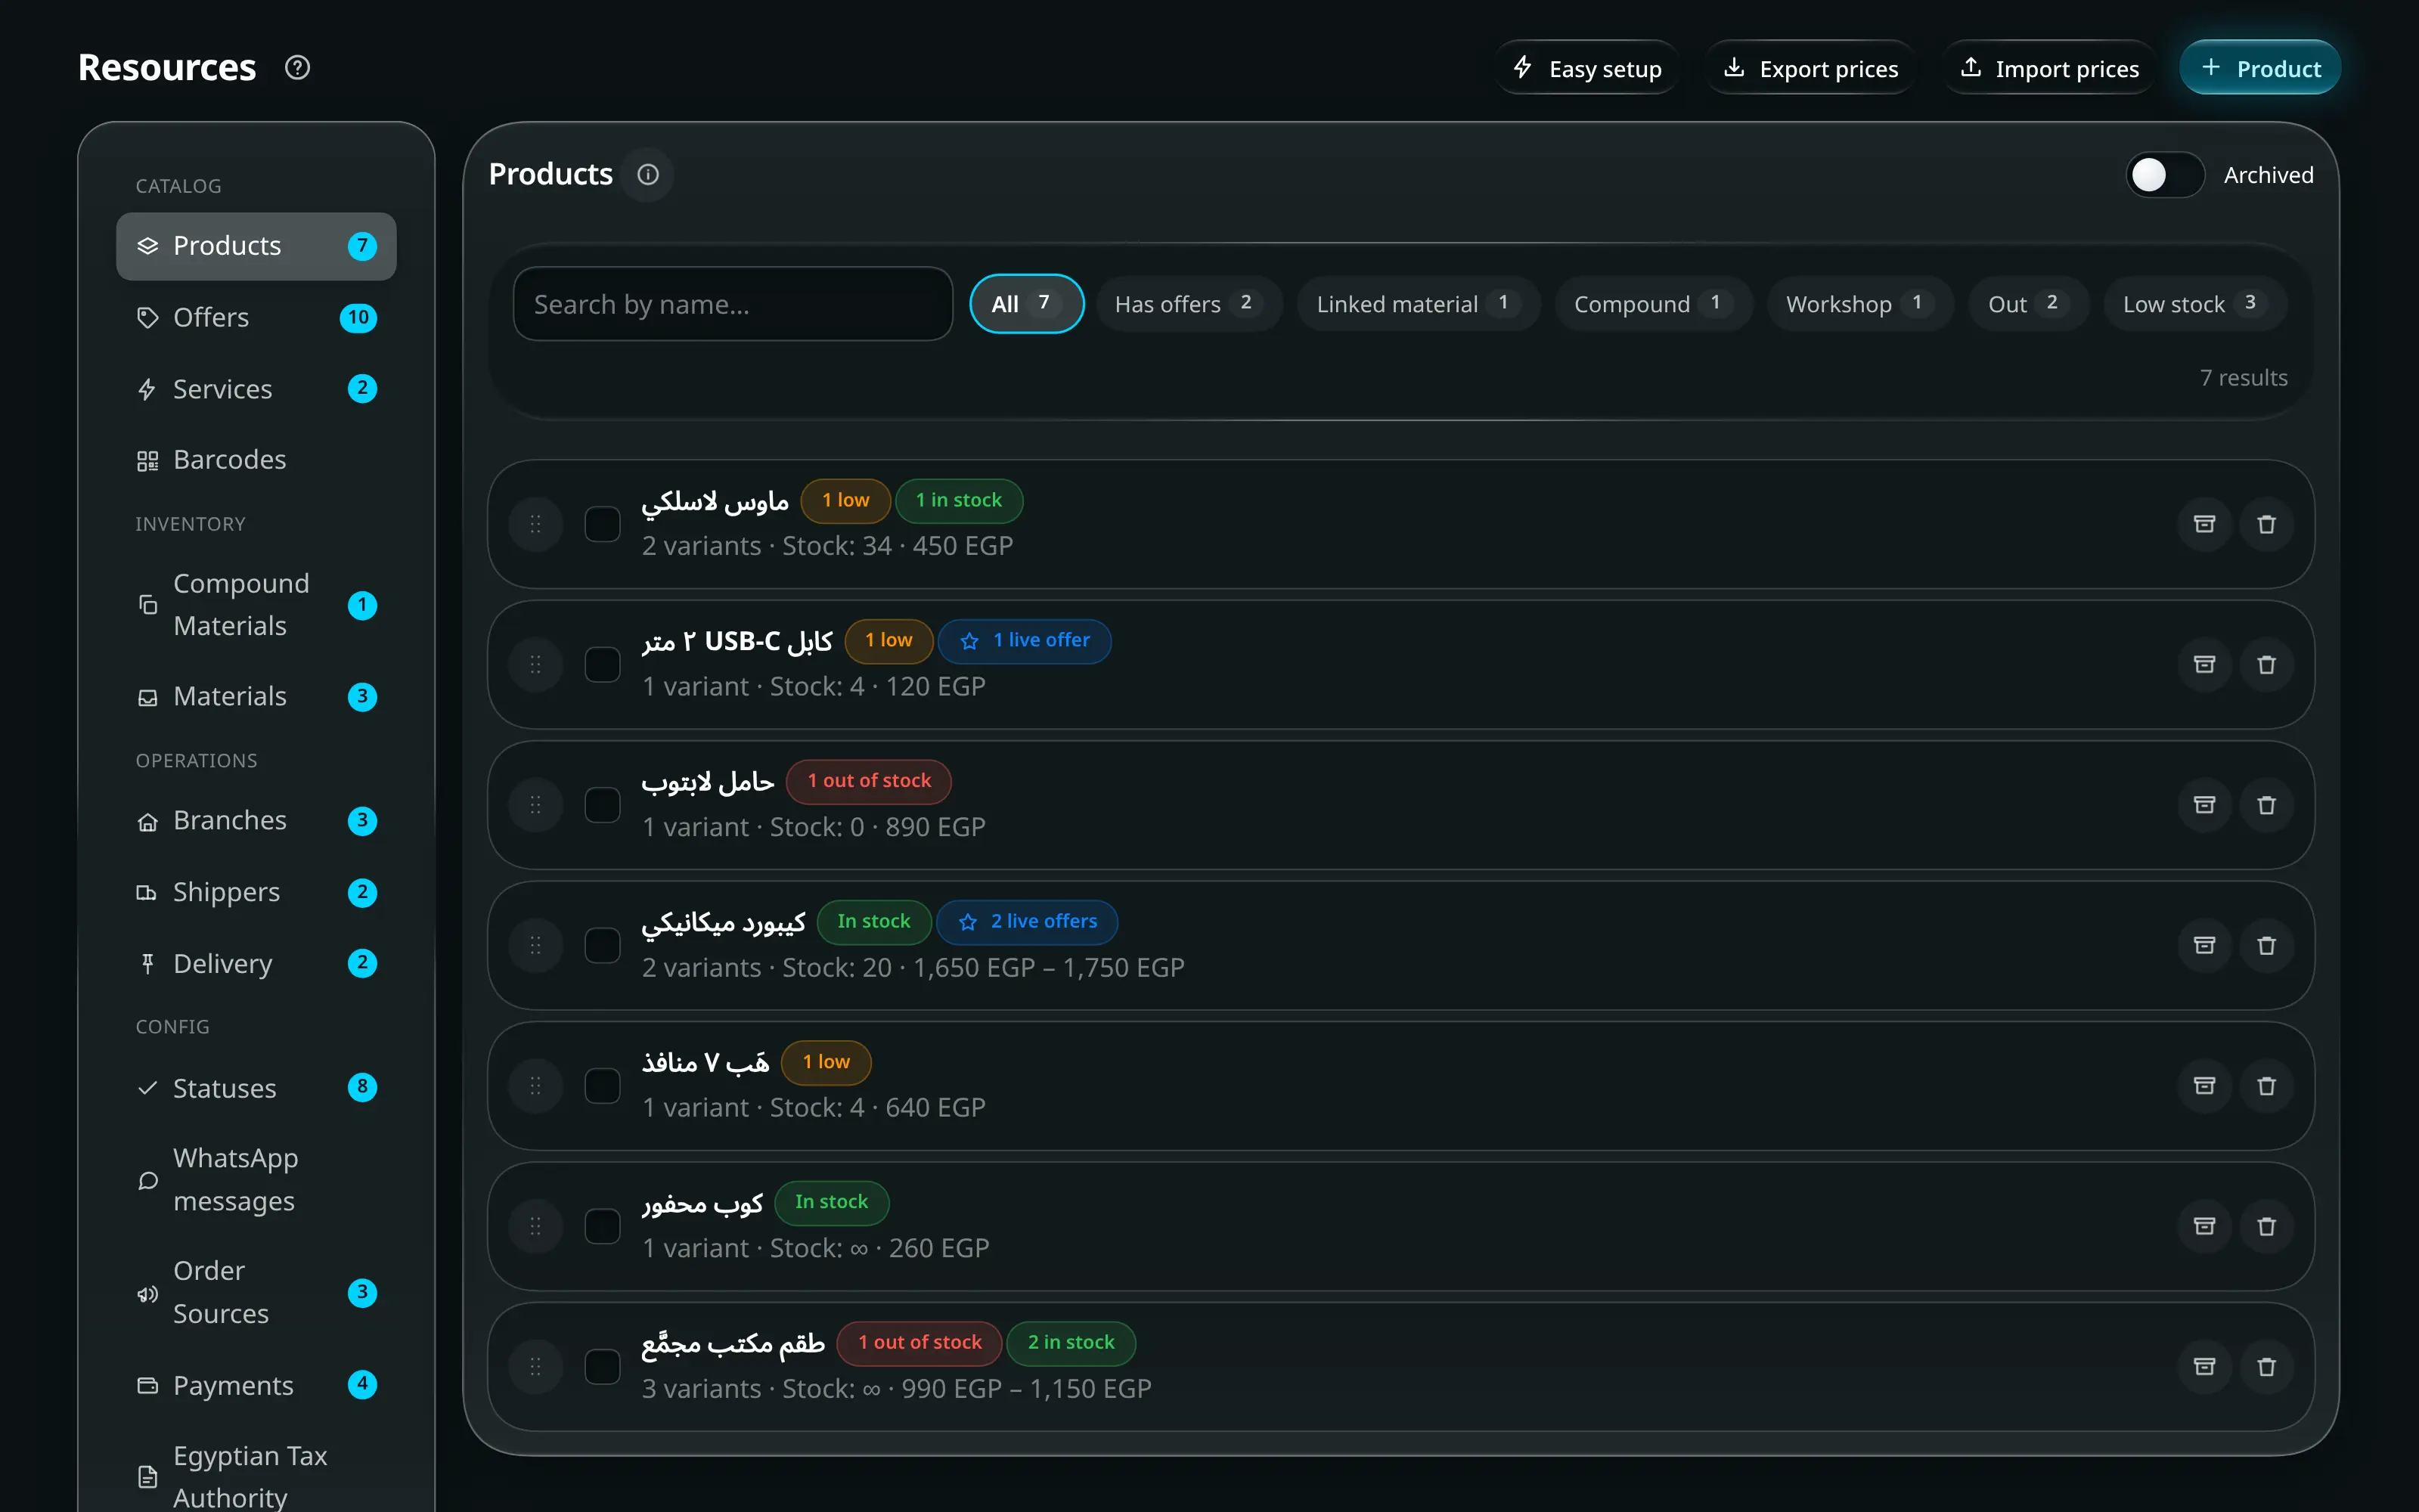
- Products and variants. Start with your twenty best sellers, not your whole catalogue. You can sell with twenty; you cannot sell with none.
- Prices. Retail first. Add wholesale prices only if you actually sell wholesale.
- Current stock. Use Quick receive stock and enter what is on the shelf right now. Set the source to a one-off purchase unless you are entering a real supplier invoice — the two are booked differently and mixing them makes your first month’s cost of goods wrong.
At this point you can take an order. Do that before you enter anything else.
Day 3 to 5 — sell through it
Take every order in the system, including the ones you would normally scribble. This is the part shops skip and it is the part that matters: a week of real orders tells you which statuses you actually need, which products are missing, and whether your staff can find things.
Do not go back and fix the catalogue every time something is missing. Note it, keep selling, fix them in one pass at the end of the day.
Day 6 — the drawer
- Do an end-of-day count. Let a member of staff enter what is in the drawer without seeing the expected figure. The first count almost always shows a variance, and the variance is information, not an accusation — usually it is an order that was taken on paper, or a payment method that was not recorded.
Day 7 — the rest
Now add what you skipped: the long tail of the catalogue, suppliers, couriers, and staff attendance rules. None of it blocks selling, which is why it comes last.
The one mistake that costs the most
Entering stock before you have entered the products properly. If a product’s variants are wrong, every stock number attached to it is wrong, and unpicking that once you have a month of sales history against it takes far longer than getting it right on day two.
Spend the extra hour on the product list. Everything downstream reads from it.